With Layouts, you can create the final layout to be displayed on your screens by combining already created playlists, uploaded media files, and widgets.
Creating a Layout #
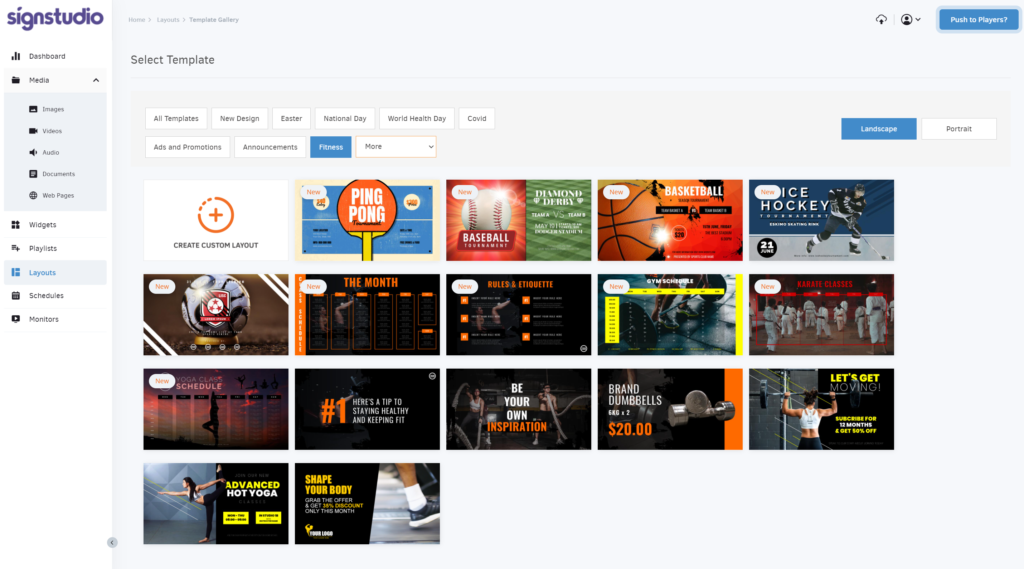
To create a layout, click on the ”Add Layout” button found at the bottom of the layout’s list. A new page will open, displaying many pre-designed layout templates that we have created for you and are ready to use.
Feel free to choose any available templates and start editing them by changing images and adding whatever text you’d like to use. Otherwise, you can create your own custom Layout from scratch!
Adding a Template #
1. What are Templates?
Templates are pre-formatted Layouts that we have created for you to use directly on your TV screens. These signage templates come with a wide range of both static and dynamic content options. Whether you want to incorporate static elements like photos or text that remain the same each time they are shown on your SignStudio Media Players or incorporate dynamic content that automatically updates depending on your sign’s weather, time, or location, both options are available to you. Templates use media not stored in your account but in the cloud to be available for all of our users. Of course, you can edit them the way you like.

2. Importing a Template
By clicking the layout template of your choice, a window will pop up displaying a preview of it. Then, if you like it, you can Import it by clicking the ”Import Template” button or go back to pick a new one by clicking the ”Back to Templates” button.
After importing a template, you can name it as you wish and start editing the default media to customize it to your needs.
Adding a custom Layout #
To add a custom layout, click on the “CREATE CUSTOM LAYOUT” button found at the beginning of the listing.

Layout Settings #
Before you start adding any media, you will see a configuration panel on the right side of your screen. To see a short description of the options, click on the corresponding tab below:
- Name
- Ratio
- Background Audio
- Snap to Grid
Type the name of your layout.
Adding media from your library #

Click the “Insert” on the top bar to choose a media from your Media gallery. At the right-side panel, you will see all available options offered.
- Images
- Videos
- Audio
- Documents
- Web Pages
- Widgets
- Texts
- Cliparts
- Playlists
Editing media #
Some relevant configuration options are shown on the right panel by choosing a media file.
For example, if you select an Image, Video, Audio, Document, Web-page, Widget, and a Playlist, you will be presented with the following settings:
1. Fitting Option
- “Fit”: show the whole content within the area assigned (may add some space or black bars at the edges, but will not distort images or videos).
- “Crop”: zoom-in so that it covers the whole area assigned (may crop some edges, but it will not distort images or videos).
- “Stretch”: show the whole content, stretching it to match the area assigned (no cropping, empty spaces, or black bars, but it might distort images and videos).
2. Transparency
Optionally, enable the toggle “Allow Transparency” to allow transparency of the region. This is useful for content with transparency and the “Fit” option above.
Positioning/Resizing media in the layout editor #
Selecting imported media in the layout editor opens configuration options on the right side of your screen.
You can use the Width, Height, Top, Left values to quickly position and align it to where you want. You can either type directly the value you wish to or, by placing your mouse cursor in the box, use the mouse wheel to increase/decrease the value.
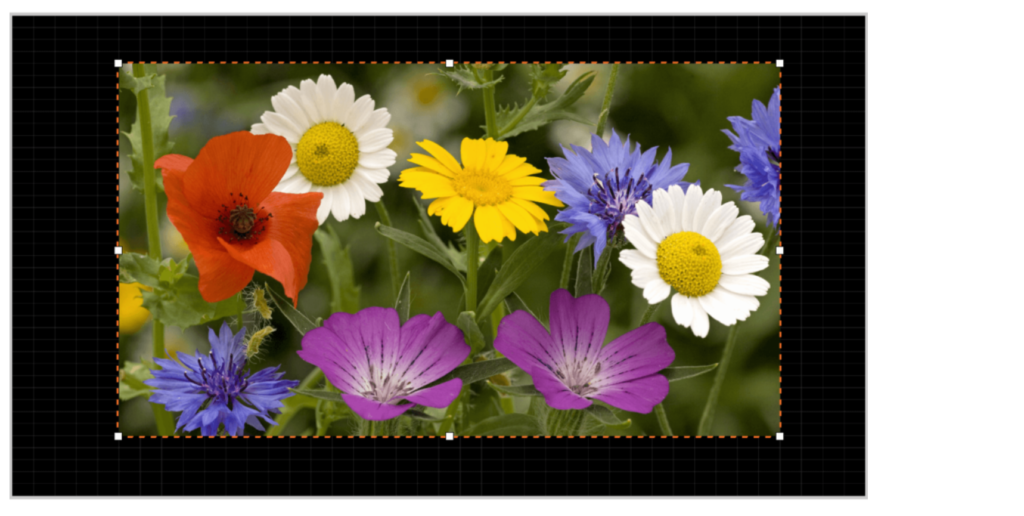
Another way of positioning/resizing your media item is by selecting it with your mouse and dragging it in any position you want. Clicking on a media item will highlight it. Use the white squares to drag/resize the media at will.

Lock Aspect Ratio #
If you want the media you are moving/resizing to keep the same ratio across the Layout region, enable the “Lock Aspect Ratio” toggle.
Content Layering #
On the right panel, when you have not selected a media, under the “Content Layering” section, all the items (playlists, widgets, media files) added in the layout are listed in the order you added them, with the top layer representing the last item added.
This layering order is very easily modified by dragging and dropping items in the desired hierarchy.
In the layering setup, you have the option to quickly disable some items by clicking the “eye” button next to the media of your choice. The hidden media will not be displayed on the player as well.
You can revert the media to your Layout editor by clicking again the “eye” button.

Useful Tools #
On the top bar, you will notice some useful buttons that you can use to help you create your Layout faster.

- Undo a change you made while working in your Layout editor if you’d like to, for up to 30 edits. Shortcut: CTRL+Z
- Redo an Undo for up to 30 edits. Shortcut: CTRL+Y
- Send Backward Move the media backward if you have many content layers on your Layout editor.
- Bring Forward Move the media forward if you have many content layers on your Layout editor.
- Copy Copy any media to your Layout editor area. You can copy media from different Layout editors across your account. Shortcut: CTRL+C
- Paste Paste any media to your Layout editor area. You can paste media from different Layout editors across your account. Shortcut: CTRL+V
- Edit Edit the settings of the selected media by opening a new editing form of the selected media.
- Delete Delete the selected media from the Layout editor. Shortcut: Del button
- Full Screen By clicking the Full-Screen button, the Layout that you have created will fill your entire TV screen. In that way, you can modify the final output shown on your TV screen and make the right adjustments by moving any media in any direction or position of your choice. It’s like the usual Layout editor but in a Full-screen mode. Press the Esc button on your keyboard to exit Full-Screen.
How do I preview a layout before pushing it to the player? #
You will be able to see exactly what is being shown on your TV screen; in the same way, you would view that content if you had a SignStudio Media Player connected to your screen. With a simple click, you can see how your layout will display on the TV screen without the need for a player or any hardware at all.
The only thing you have to do is fill the layout with the media of your choice and then click the Preview button at the top right corner.
A new window will appear and start displaying the layout.
Allow pop-ups #
Upon clicking the Preview button, your browser might block the pop-up. Please click the options button in your browser and click the “Allow pop-ups for app.signstudio.tv“.
Managing Layouts #
In the “Layouts” section, you can see a list of the layouts currently created into your SignStudio account. Layout information is organized in the following columns:
- the Name of the layout
- the Timestamp (date and time) that the layout was modified for the last time
- the Workspace (for accounts in the Enterprise plan) that the layout belongs
- the Actions column
If you click on the three dots icon in the Actions column, you will be presented with a list of actions that you can apply to your layouts.
- Edit
- Duplicate
- Move
- Delete
Change the details of the layout by clicking the” Edit” button.
Check out the “Creating a Layout” section above for details on the fields.
Additional Control Settings #
At the top-left corner, you can use the Search box to sort out your layout listing quickly. You can search using any of the columns by name, date, workspace, etc.
You can select one or more layouts by clicking the square box left to their thumbnail. You can then click the Actions button at the bottom to Move or Delete all the selected layouts at once.


